Any DIY job can seem difficult at the beginning of the project. Installing floors in particular can be daunting even to the more experienced DIYers. With our step by step installation guide however, we can help you minimise the job at hand into 15 simple steps. With engineered timber flooring installation, the install is no different to a traditional, solid hardwood. Engineered timber planks tend to use a tongue and groove installation system, ensuring a safe and easy installation process.
If you have decided to install your new engineered timber floor yourself, continue reading below for our how-to guide for tongue and groove installation.
Step 1: Begin by checking your subfloor for any moisture with a moisture meter. For example, if you are using a wood subfloor, the reading must be 16% mc or below.
Step 2: Sweep the subfloor for any dirt and dust to remove contamination.
Step 3: Use a straight edge to check if the subfloor is even. If the subfloor is uneven, you should use self-loving compound or plywood depending on your subfloor type.
Step 4: Roll your underlay out.
Step 5: Begin laying your first plank against the wall. An expansion gap of at least 10 millimeters should be measured around the perimeter of the room as you proceed with the installation. Using floor spacers will ensure the expansion gap is consistent around the room perimeter.
Step 6: Take the next plank and apply the correct glue to the end of the board. Arrange the floor spacers accordingly and the slot into place.
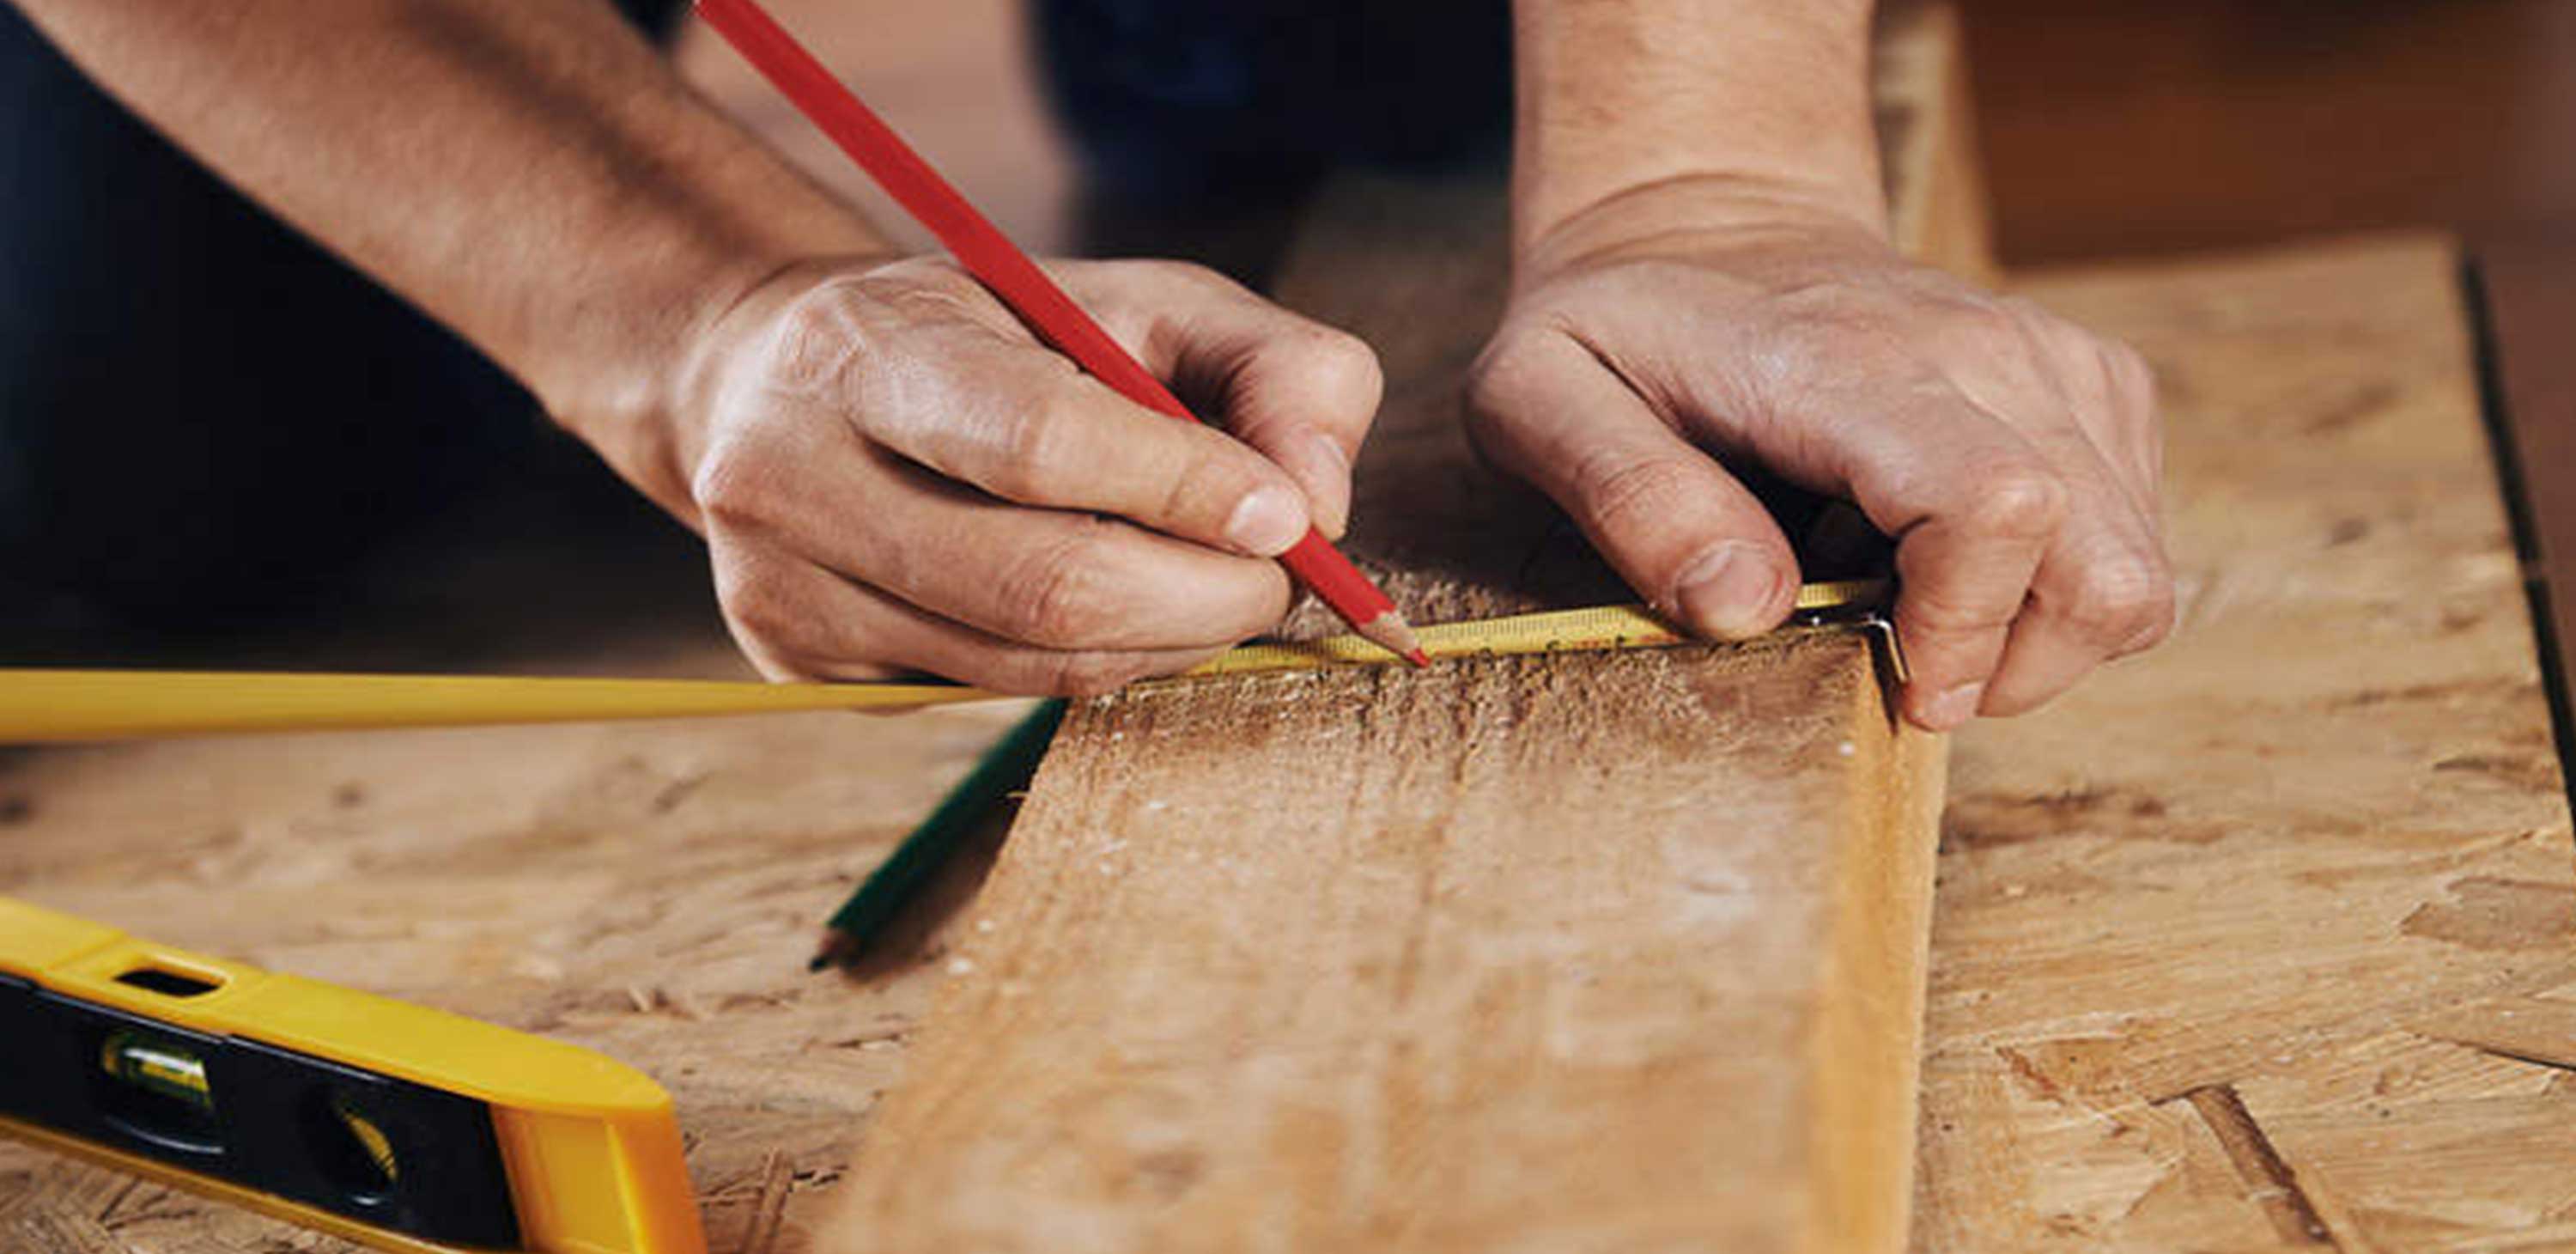
Step 7: Measure the gap between the last gap and the wall.
Step 8: Follow the line that has been marked out across the face of the plank onto the back using a set square to ensure a straight line is made.
Step 9: Position the engineered plank face down and cut along the line you have marked out.
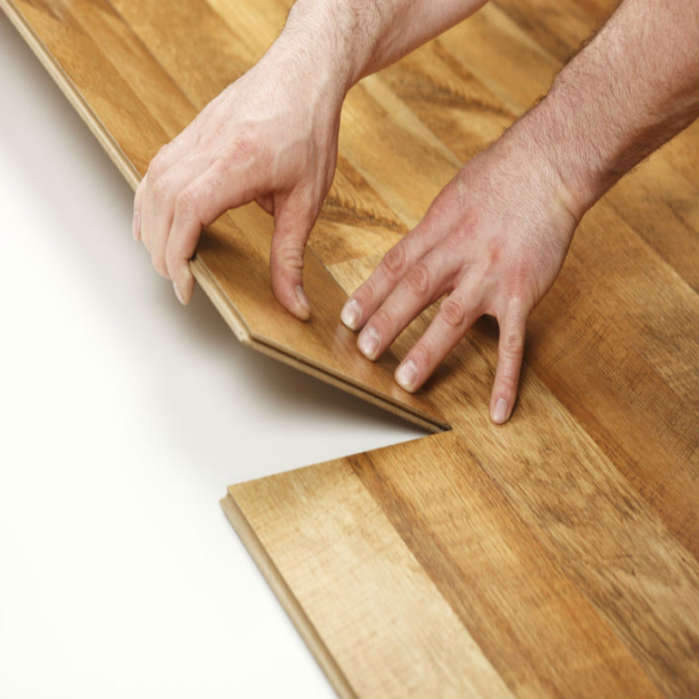
Step 10: Glue the header joint with PVA glue. Place the plank into position and use the floor spacers to give the correct expansion gaps against the wall.
Step 11: Continue installing the existing rows. Cut the planks accordingly. Stagger the joints. Using double PVA glue, put each plank together. Again, use floor spacers to allow the correct expansion gaps around the perimeter room.
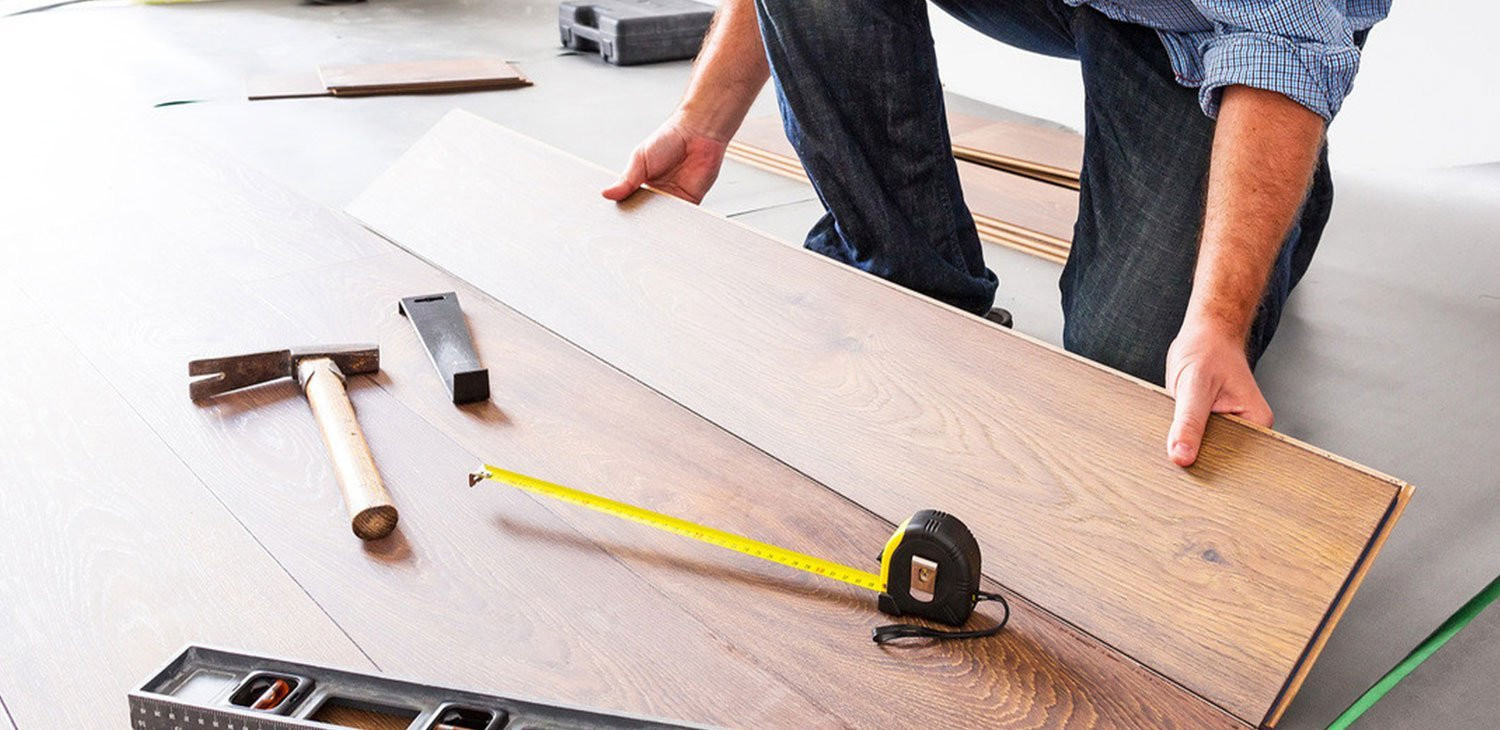
Step 12: Measure the end plank. An easy way to measure the end plank is to flick it around and mark on the previous plank where to cut next. Cut the board to size.
Step 13: Glue along both grooves of the board and push into place, keeping the board tight, and making sure there is sufficient expansion gap against the wall.

Step 14: Continue the following rows as before. When reaching the opposite wall, you’ll need to fill in the space. Begin by measuring the gap and deduct the expansion gap from the total measurement.
Step 15: Take this measurement and measure, from the groove side of the plank, from top to bottom. Join the two points up using the straight edge to create the line you’ll need to cut along.
Step 16: Run the plank under the saw along the line you have just made. Glue along the full length and width of the plank and then put into place.
Step 17: Use a pulling bar and hammer to close any unwanted gaps between the boards. Continue to cut and glue as before to complete the floor area.
Get a FREE consultation immediately, Free on-site consultation and quote. No-obligation and Receive a callback within 24 hours.