- Professional Flooring Products Supplier
- Phone: 03 8362 3457
- Email: [email protected]
-
Now that you’ve got all your equipment together, you need to measure the room to see how much carpet you need. To do that, you need to measure the length by the width and that’ll give you your run of carpet.
The next part of the operation is floor preparation. The first thing we can do with the floor is to clean it up. Use a broom and give it a good sweep or use a vacuum to get rid of any dirt or dust and go over it with a scraper. This removes any dropped plaster or cement that happens to be on the floor. If its a concrete floor, go over it and fill any voids in, and if there’s any dips, fill that in to give it a nice smooth surface. Anything that’s left under the carpet will reflect through the surface once the jobs done, which is something you don’t want.
Put down the smooth edge. The smooth edge will have nails and a serrated edge. If you’re putting a smooth edge on a concrete floor, it should have a toughened, hardened nail. It will look very similar to a standard smooth edge, but the hardened nail for concrete will be black. Lay the smooth edge down in front of the skirting boards, ready to nail in.
Place the smooth edge with the pins facing into the wall. Take a pair of secateaurs or tinsnips. Cut the smooth edge to the right length, making sure that the smooth edge is 6 laid ml off the wall. (This often depends on the carpet thickness. If it’s a thin carpet put it a little bit closer, if its a thick carpet keep it out.) Once you’ve done that, make sure that the same distance is maintained all around the room, and then you can start knocking your nails in. Usually it only takes one hammer to hit the nail in. Take two if you need to, but just make sure you don’t hit the skirting with the hammer.Roll your underlay out.
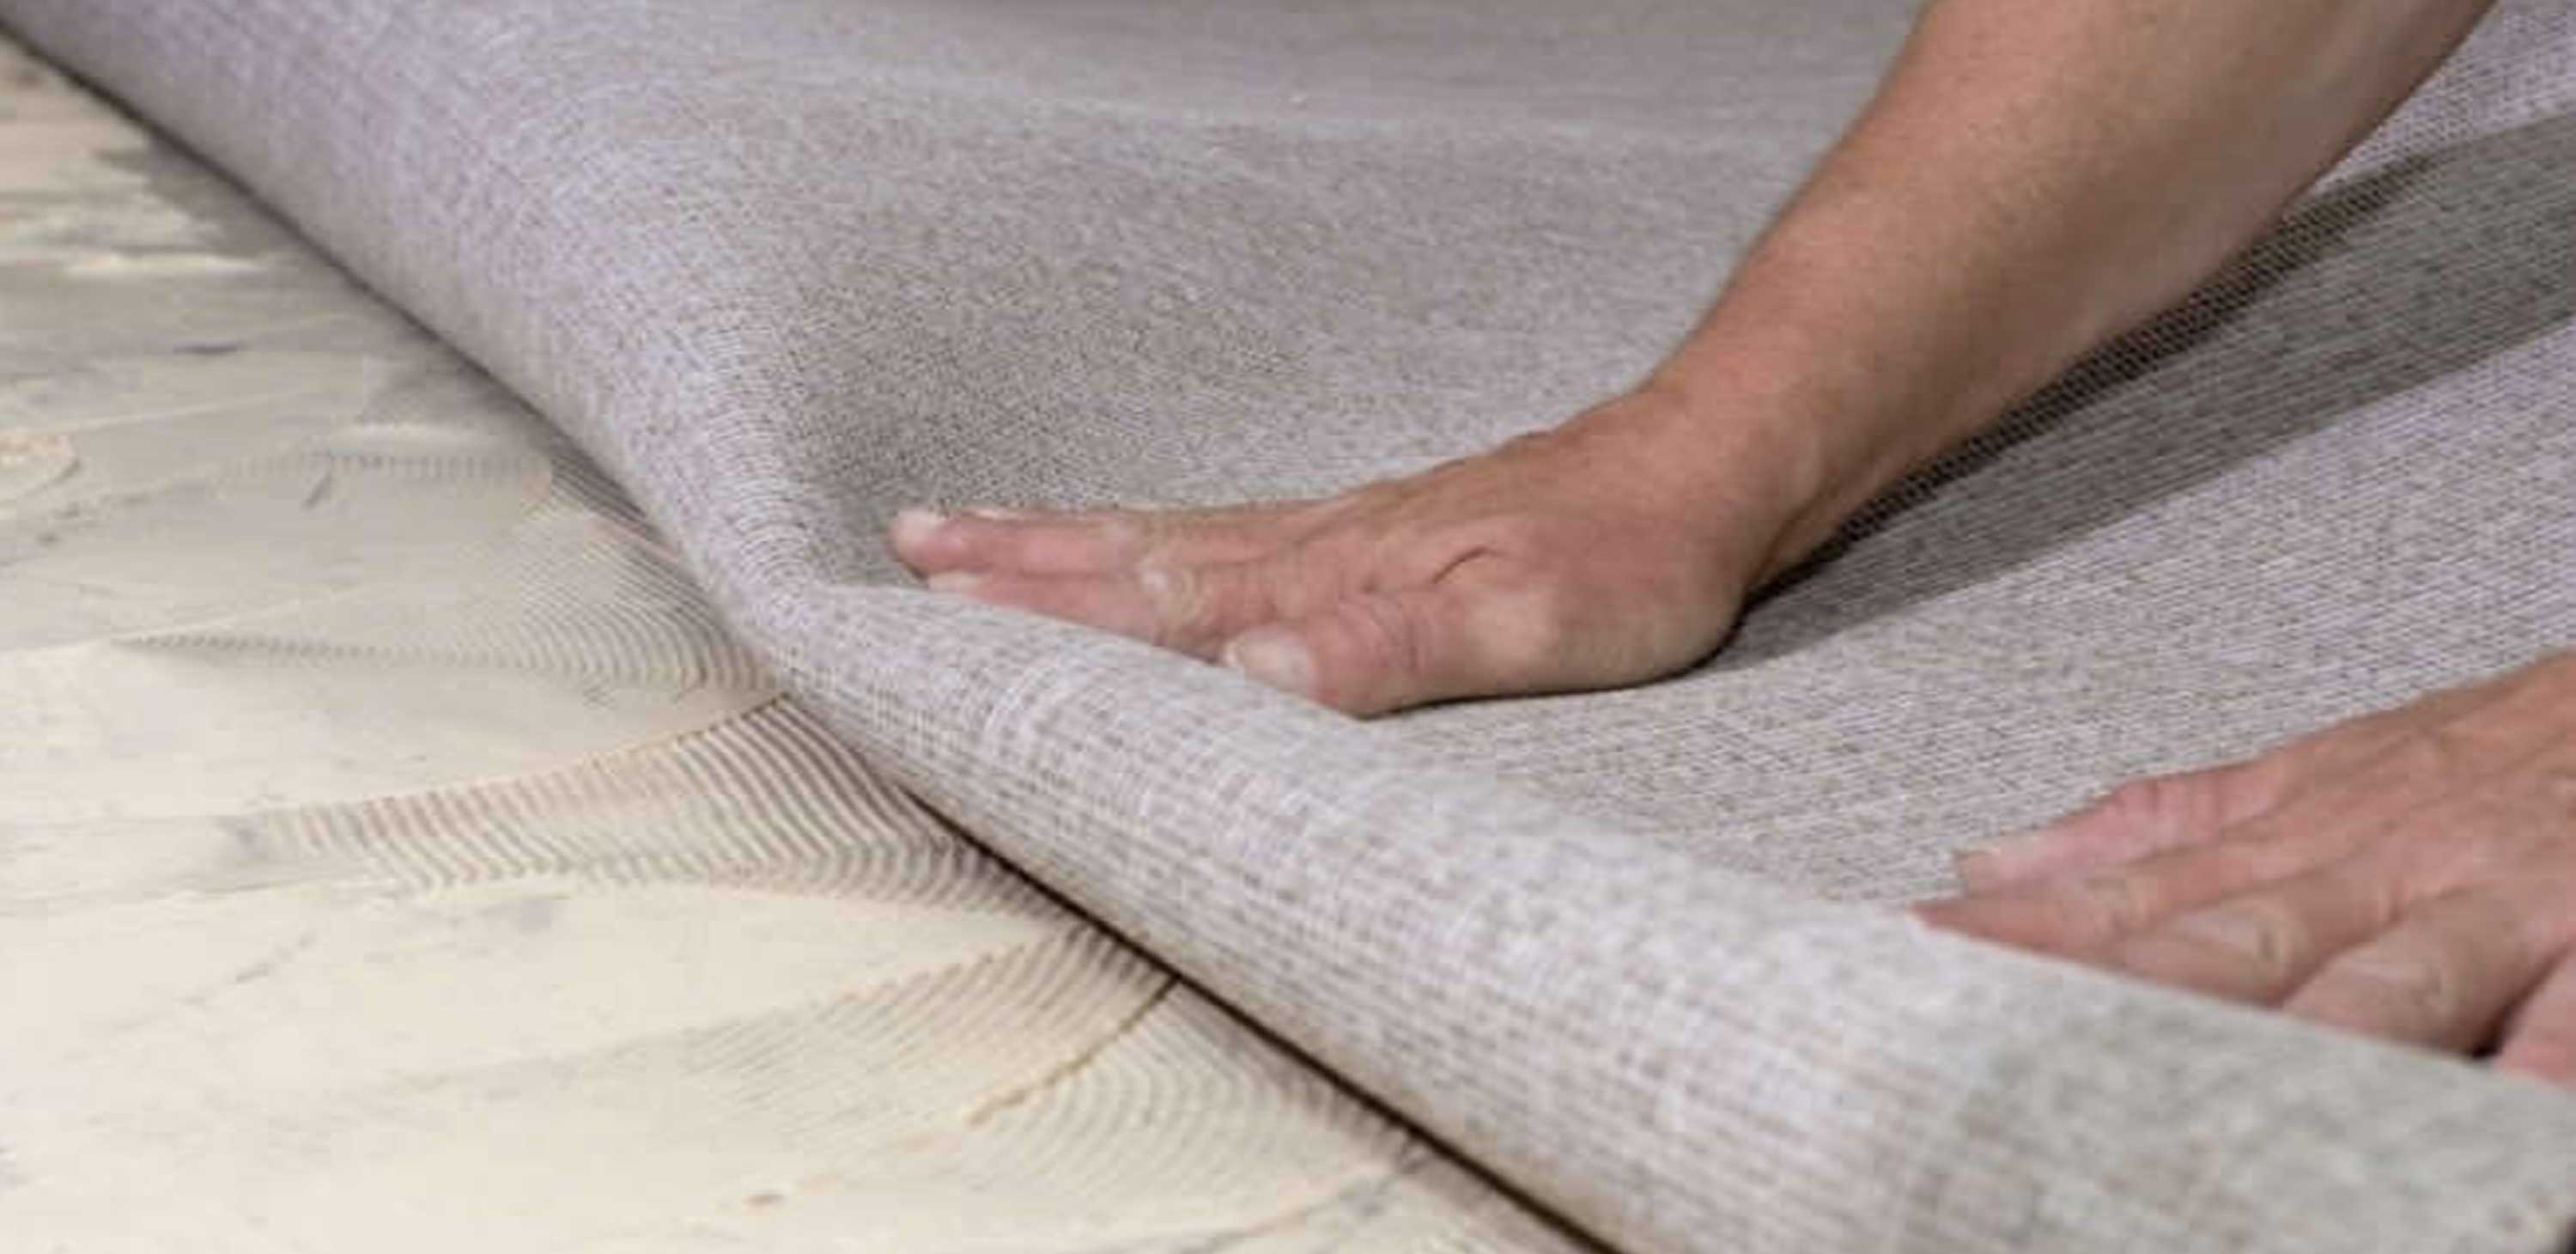
Now that you’ve put the smooth edge down, you can continue laying down the underlay. Once you’ve put the bulk of the underlay in, it’s time to fill in the small bits.Once you do, just lay it down and roll the roll out.Turn it over if there’s an excessive amount and pull it over towards the wall. Just make sure that the two joining pieces butt up together and there’s no gaps. Then you can take the excess off the underlay to make it a little easier to handle, and then your underlay is done.
Now you’ve got the underlay down, you can trim it. What you can use is a utility knife with a nice sharp blade. Basically what you need to do is, put the knife on and trim it round the smooth edge.
Next, you need to anchor the underlay down. This is because when you stretch the carpet, if you don’t anchor the underfelt, it’ll ride up under the carpet and possibly get it onto the smooth edge. We suggest you use a stapler because it gives you a broader area to anchor it on. Note: if you’re working on a concrete floor, the technique to anchor the underlay is a little different. Because you can’t staple it to concrete, you need to use tape instead. You can use either duct tape, or masking tape. Lay the tape mid to join and just follow the join to the end of the room.
Now that we’ve got all the underlay and the smooth edge down, we can put the carpet in. Sometimes the carpet can be quite heavy and you may need a second pair of hands. Once you’ve got the carpet rolled out in the room, there’s a couple of things you need to look out for. Be careful of the walls, so that you don’t mark them or scratch them. Also have a look at the pole of the direction again. Make sure the carpet is running the right way, otherwise the colour will look different in different rooms.
Push the carpet into position. The carpet will fold up at the edge. Take a scallop out of the end so the carpet fits to the corner neatly. With the utility knife, make a small cut in either direction, and push that in. With your knee kicker, position that into the corner and with your knee give it a bit of a nudge. When you can feel that riding over the pins, hold it down in your hands and just work along until you can feel it starting to grip. Just to make sure, use a hammer and run it along the pins, until you can feel the pins actually grabbing the carpet, keeping it in place so it doesn’t pop off again.
Once you’ve done one wall, you need to go to the opposite wall and use the same technique to stretch the carpet across the room. Once that’s done, we can do the following wall, and lastly, the last wall. Just using your knee kicker in the same manner, work along the wall and follow up with the hammer. This way, the carpet stays on the pins, and won’t pop up any more.
Once you’ve got the carpet attached on to the smooth edge, it’s time to trim the walling. What we need to do that with is a bolster, and a utility knife. Make sure the blade of the knife is sharp. Pull the side of the carpet back, make a diagonal cut 10 mm from the wall. Make a couple of cuts and go along with your bolster, and push it in to the back side for a smooth edge.
Finish off the doorways. You can either finish off the doorways to a tile edge, or timber edge. The carpet gets tucked in the same as what you did around the edge of the walls, and if you’re not happy with that you can install an actual trim. Trim bars come in gold, bronze and pewter, and you can buy them from any hardware store.
Get a FREE consultation immediately, Free on-site consultation and quote. No-obligation and Receive a callback within 24 hours.